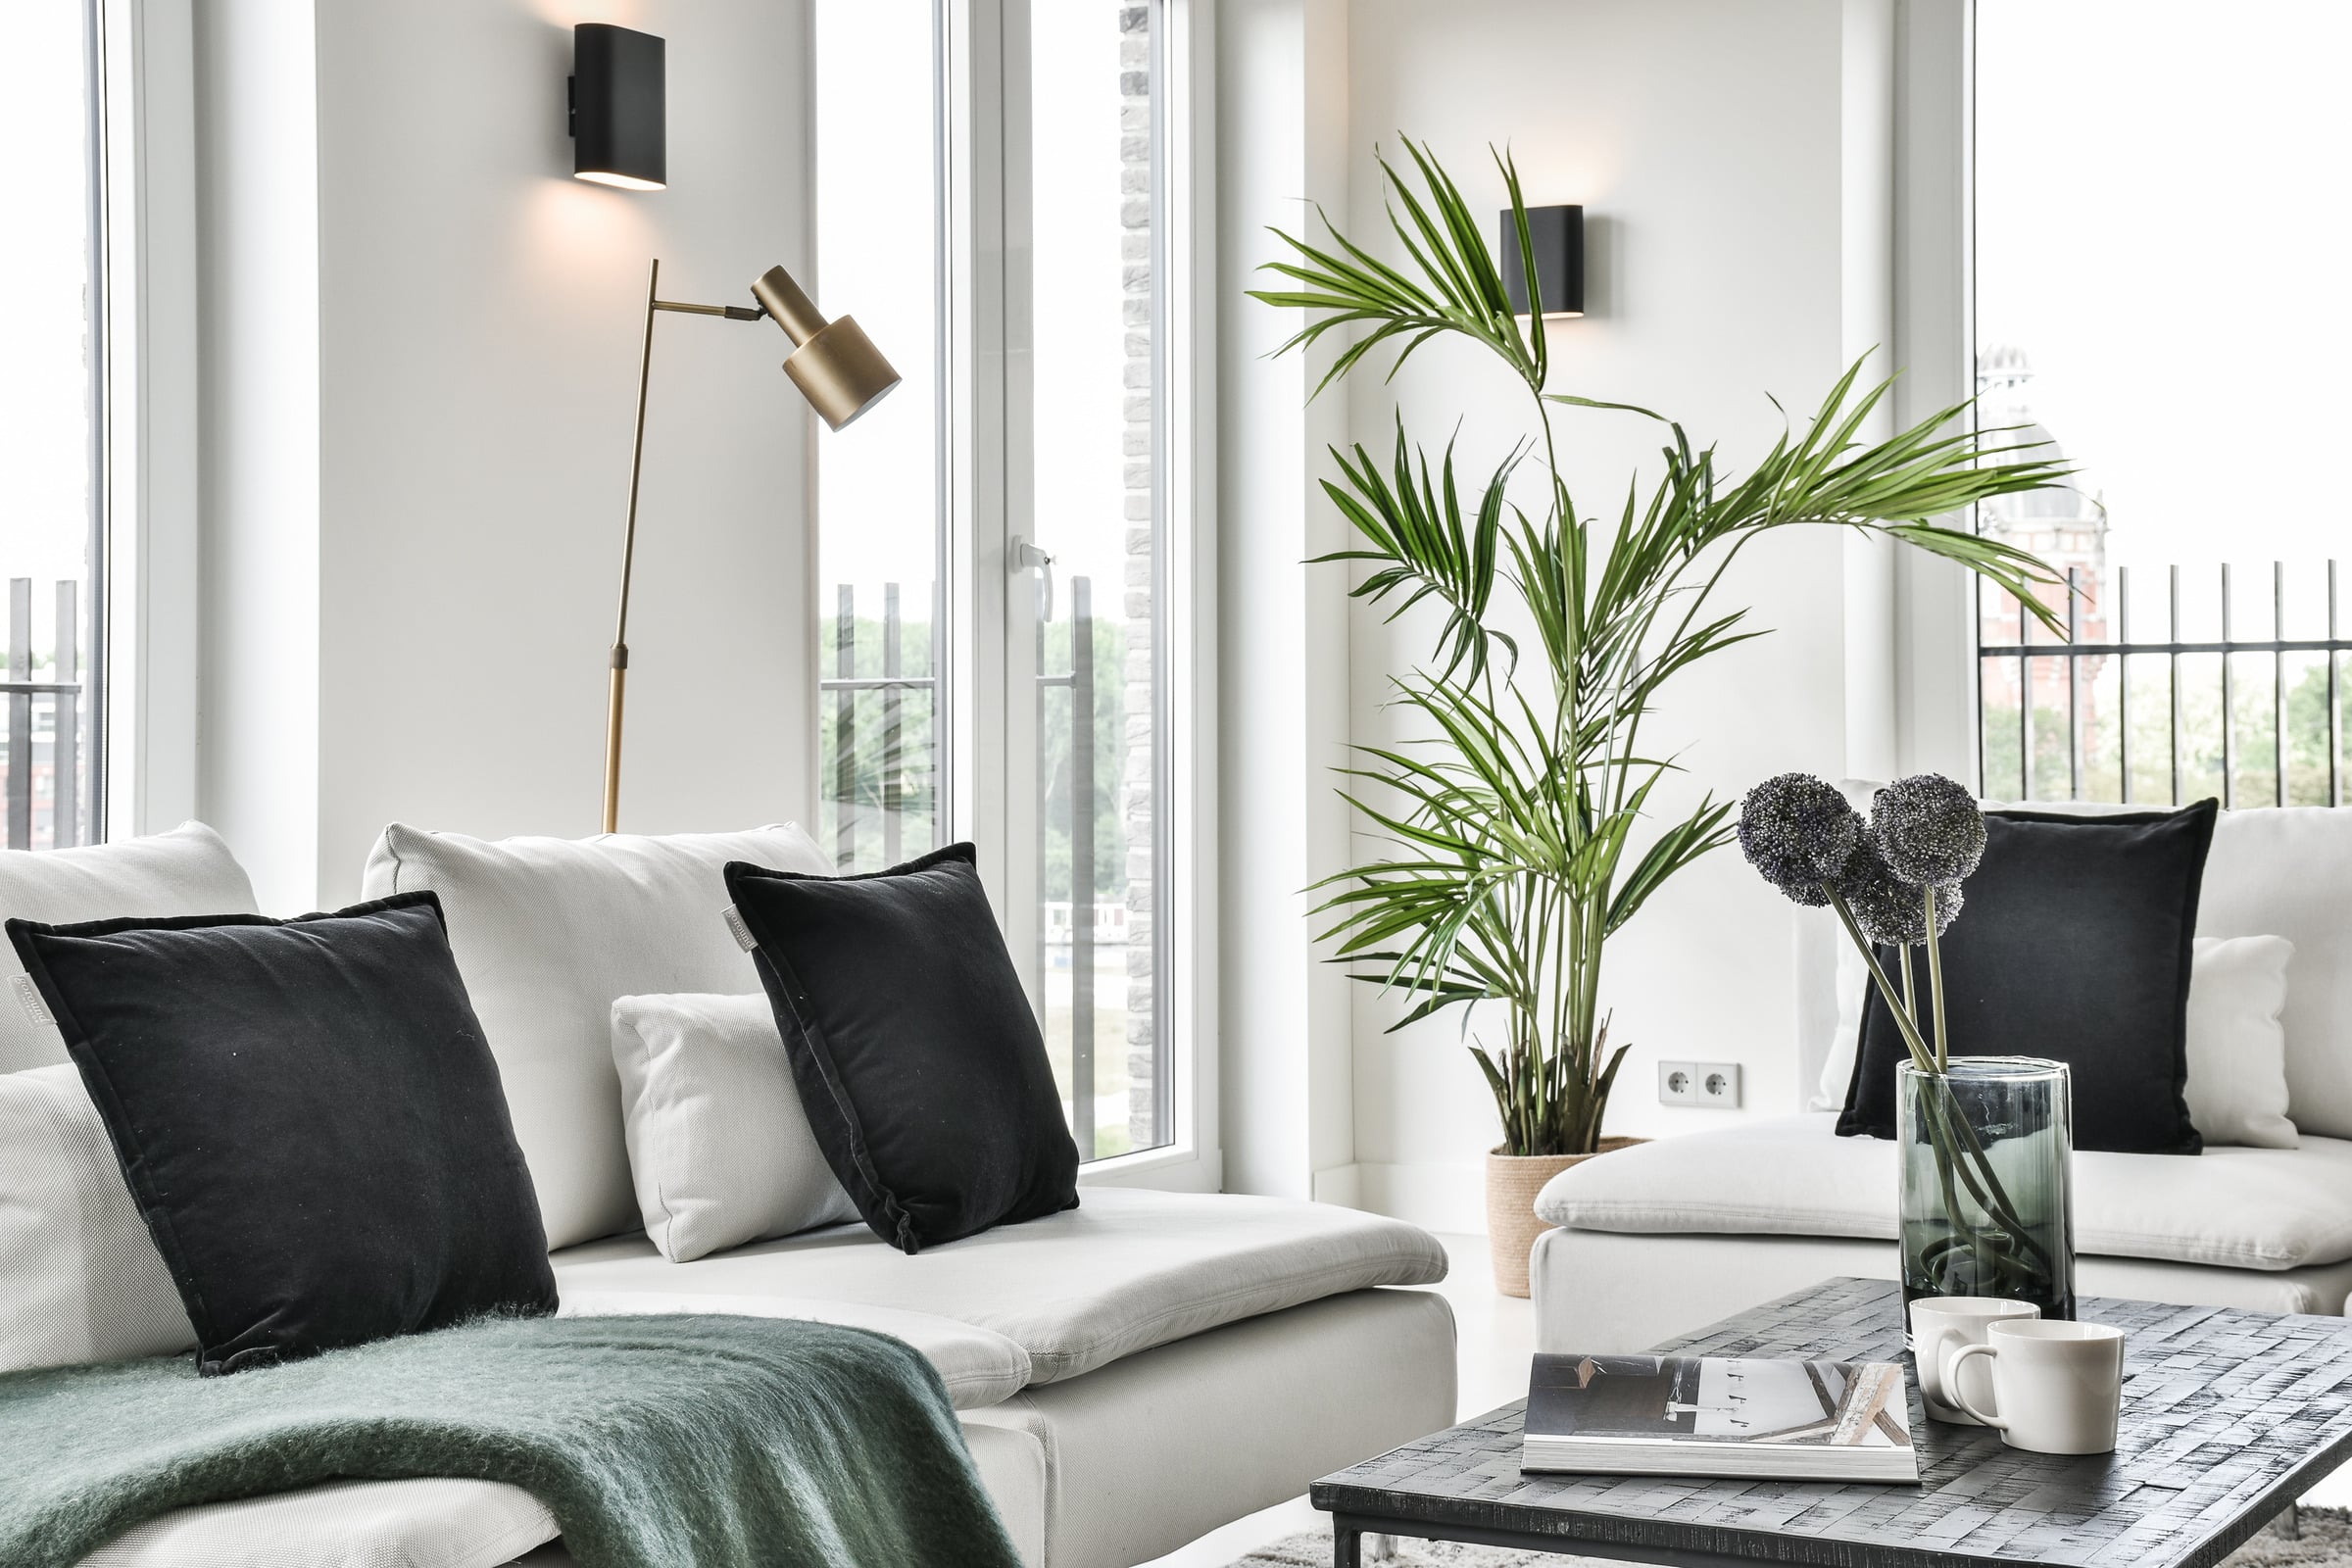
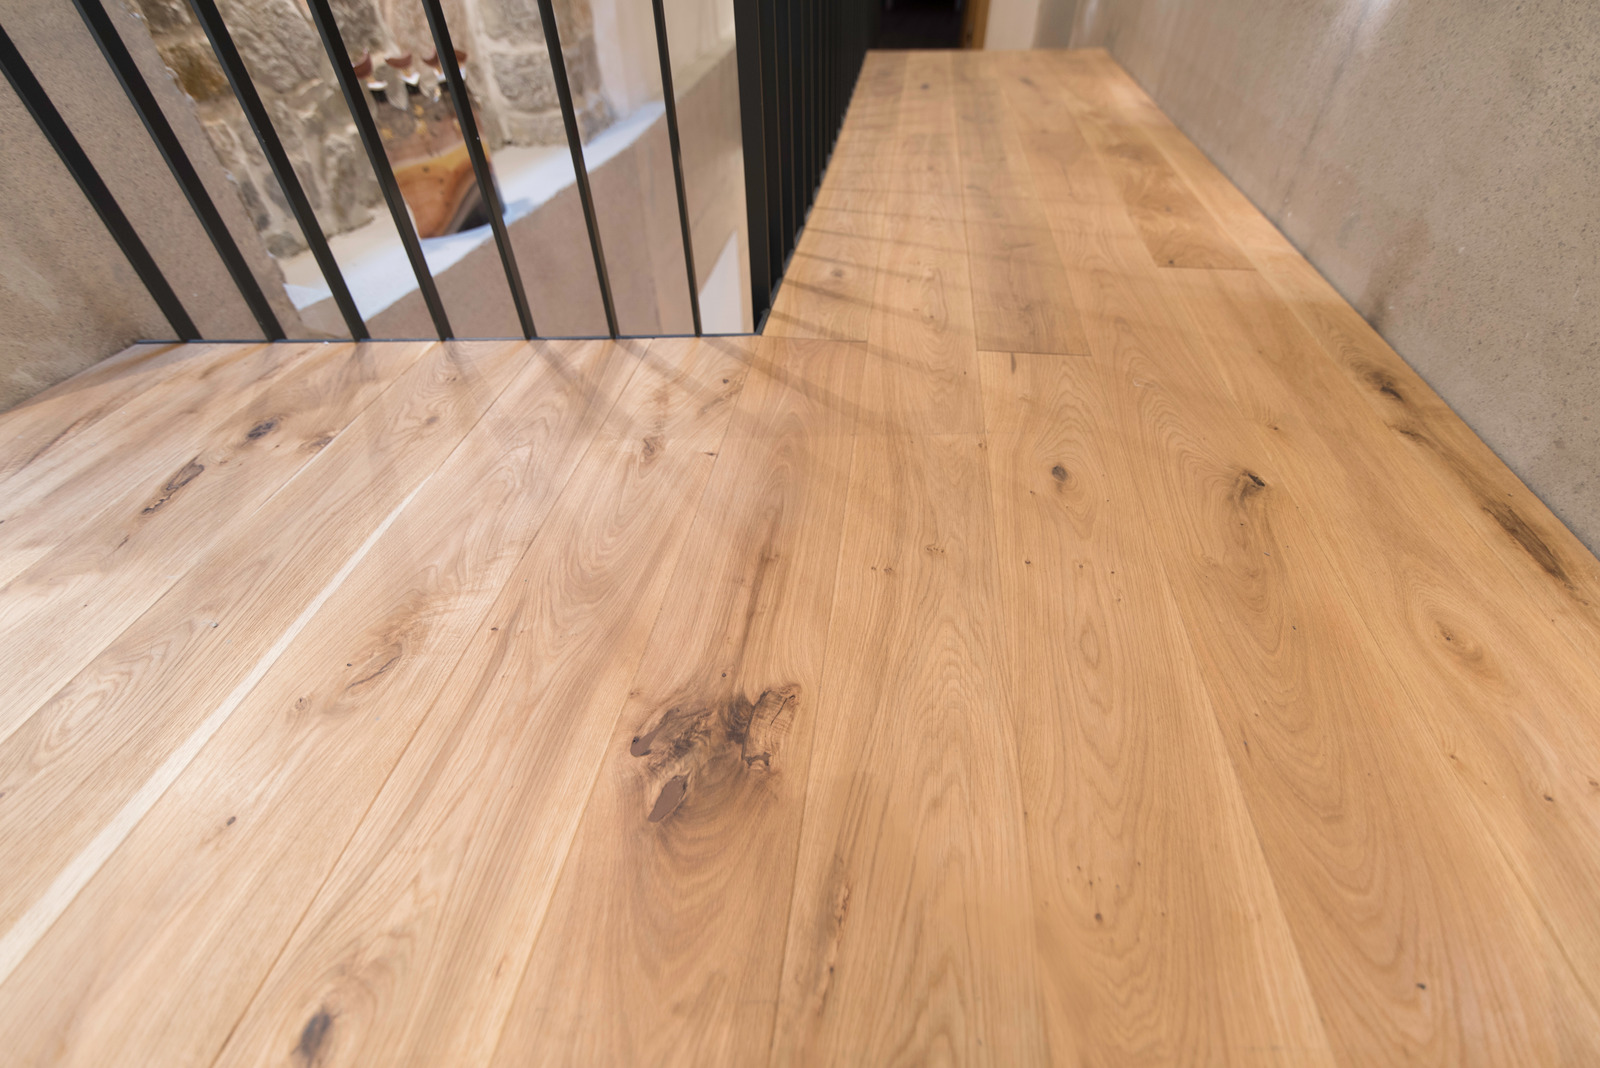
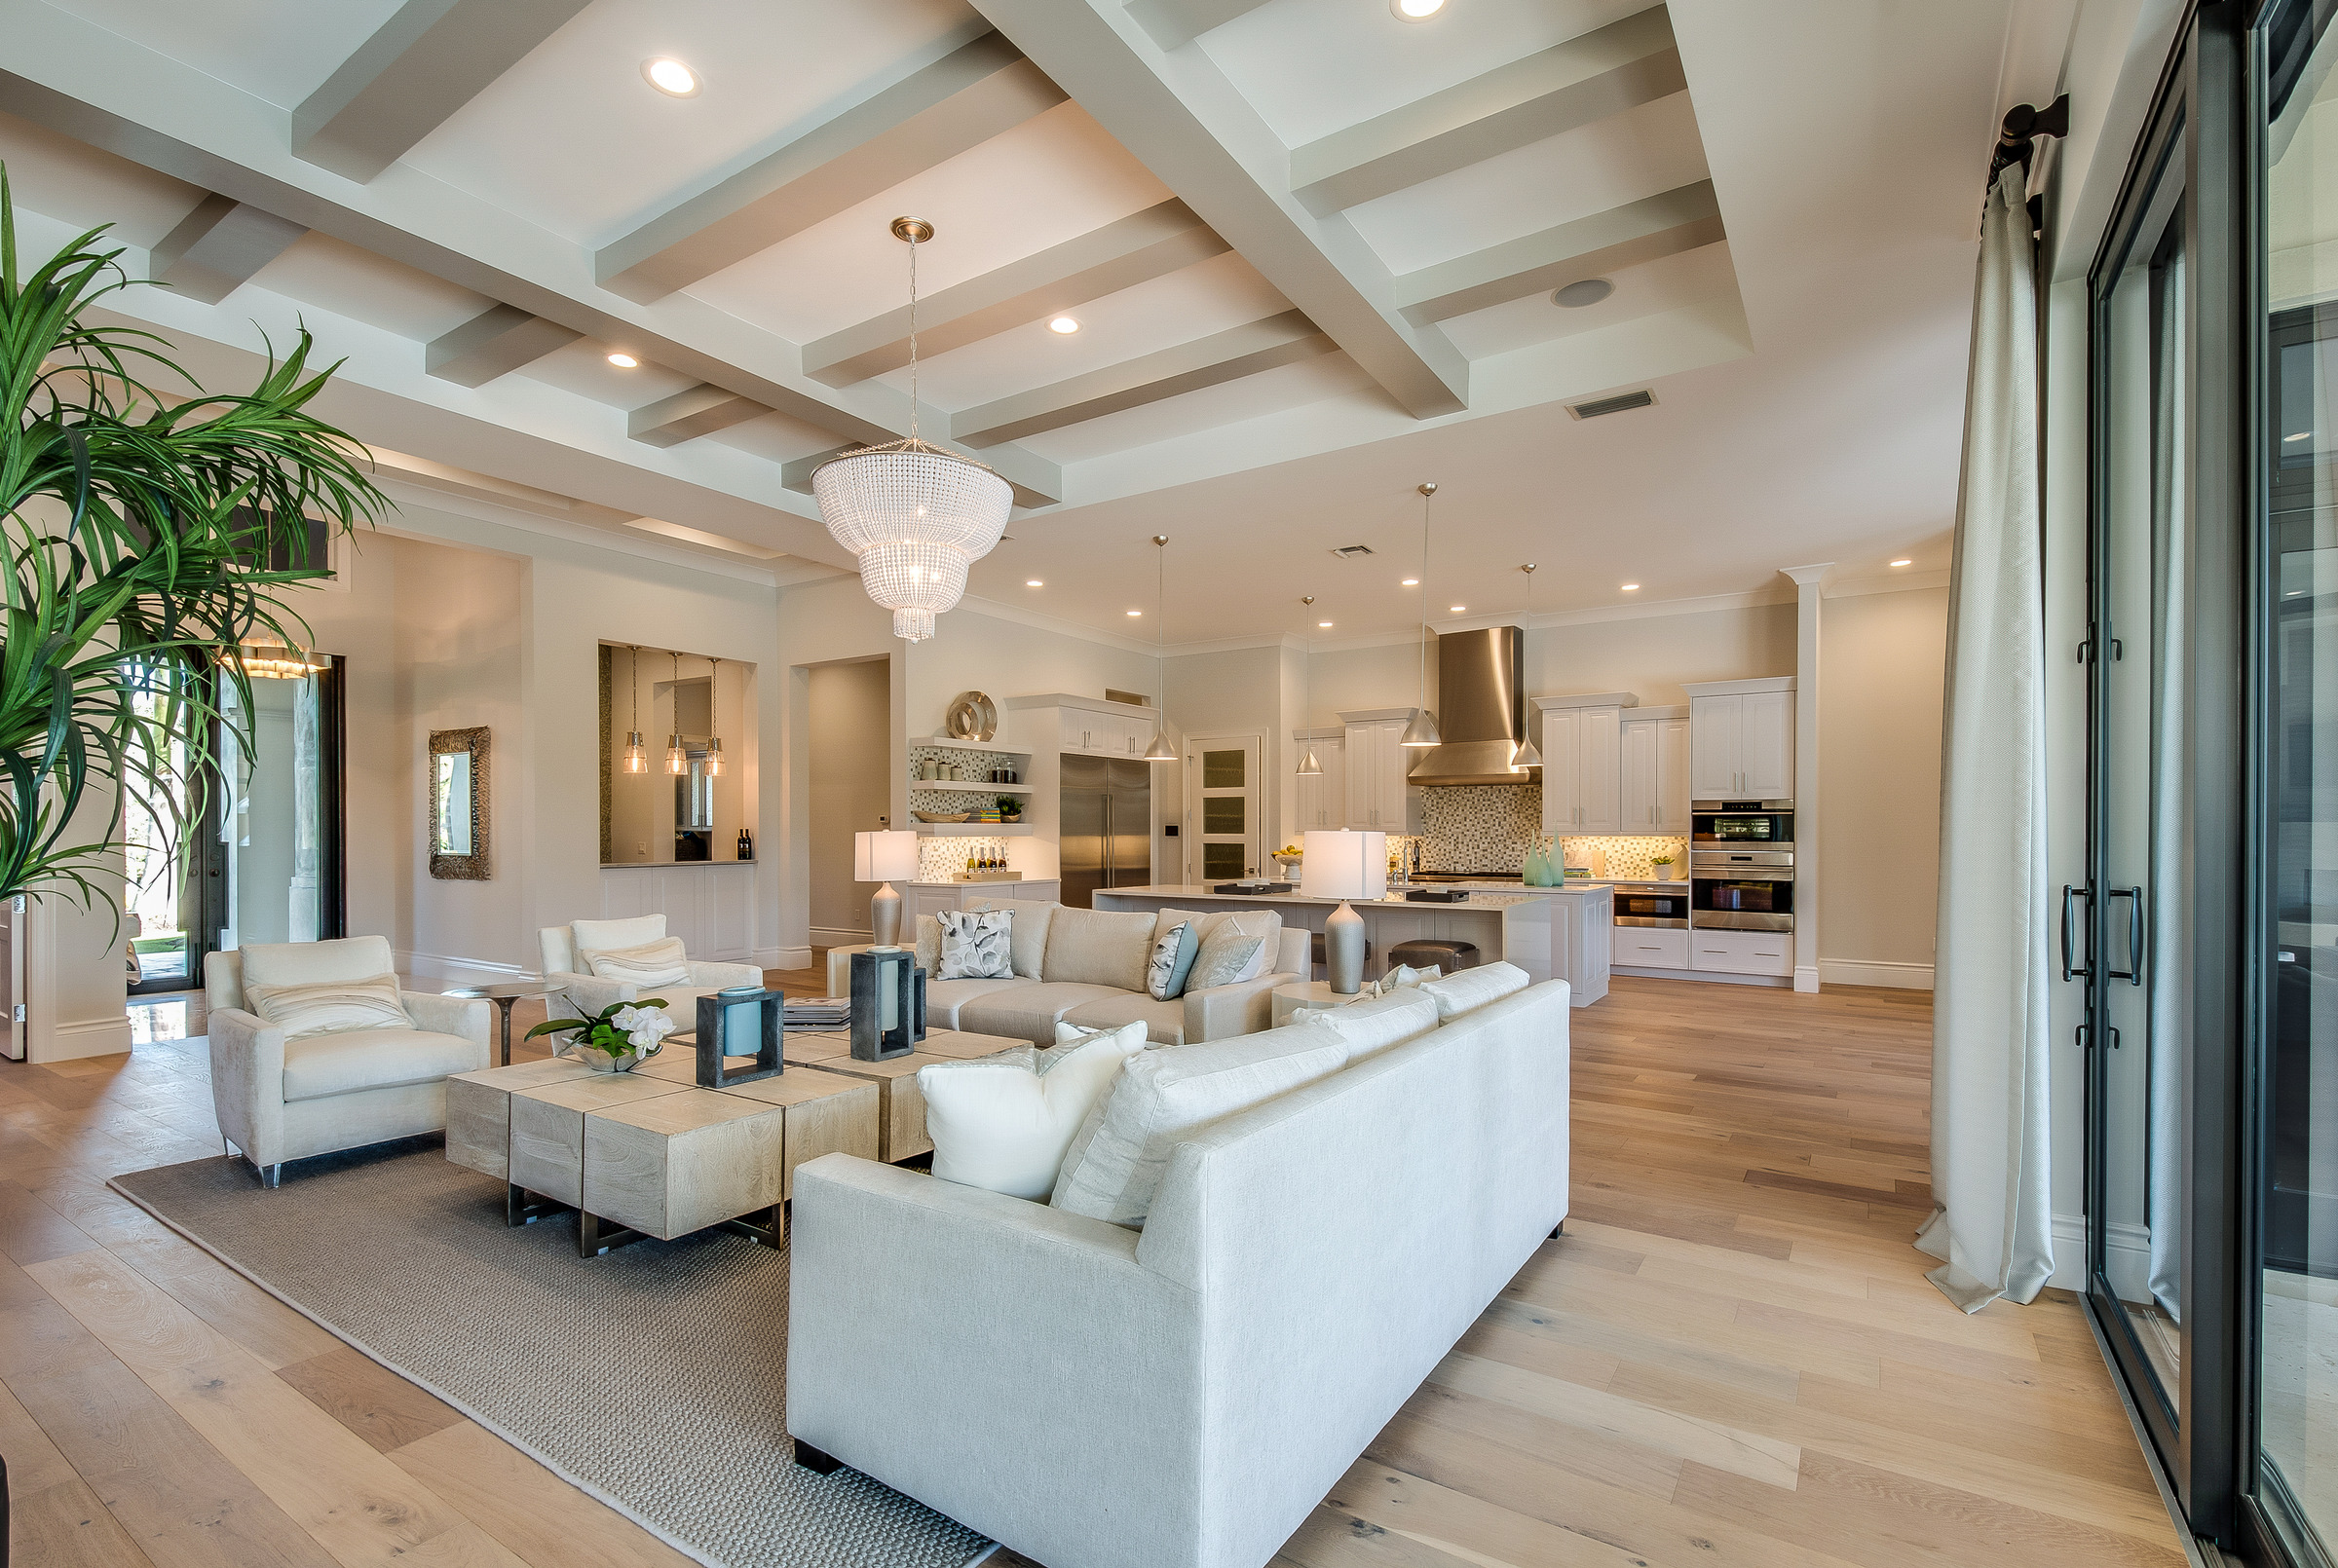
In order to keep up with the times, your home will eventually need to be remodeled. Our home remodeling team will brainstorm ideas with you for upgrades, going over options for color schemes, flooring and wall decorations, new furniture ideas and even add-ons. We are available for all types of jobs both large and small!
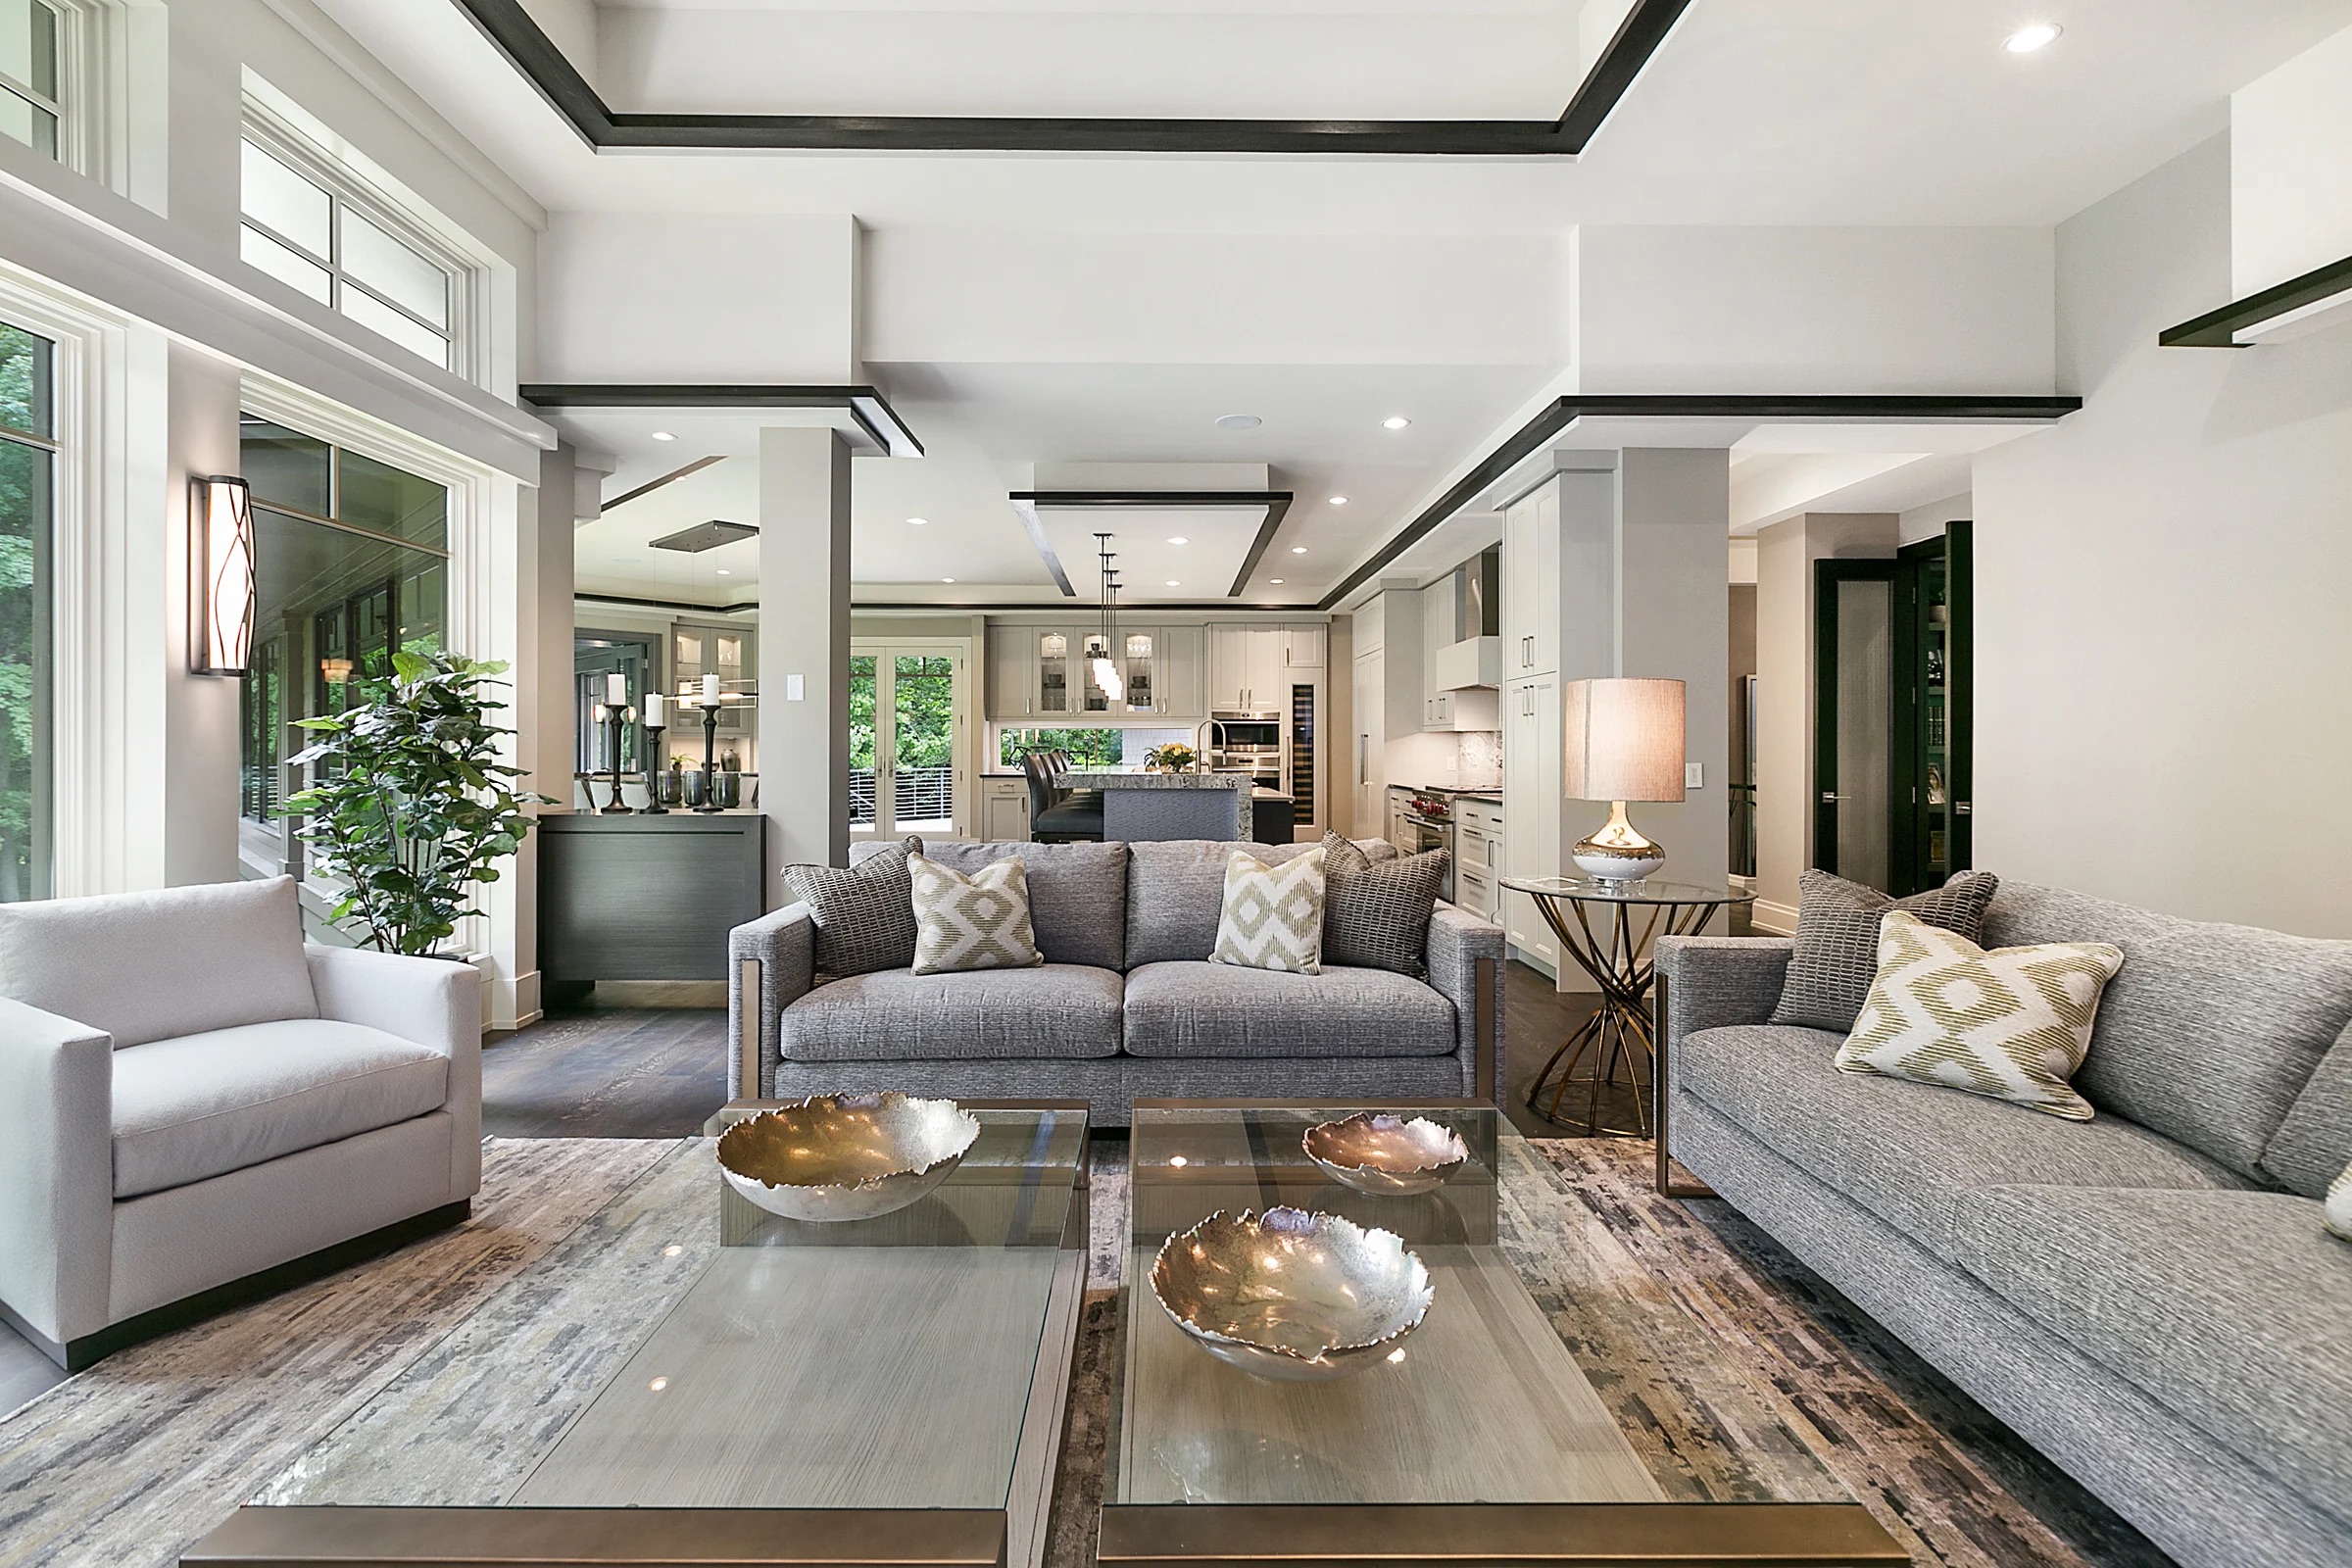
HOME REMODELS

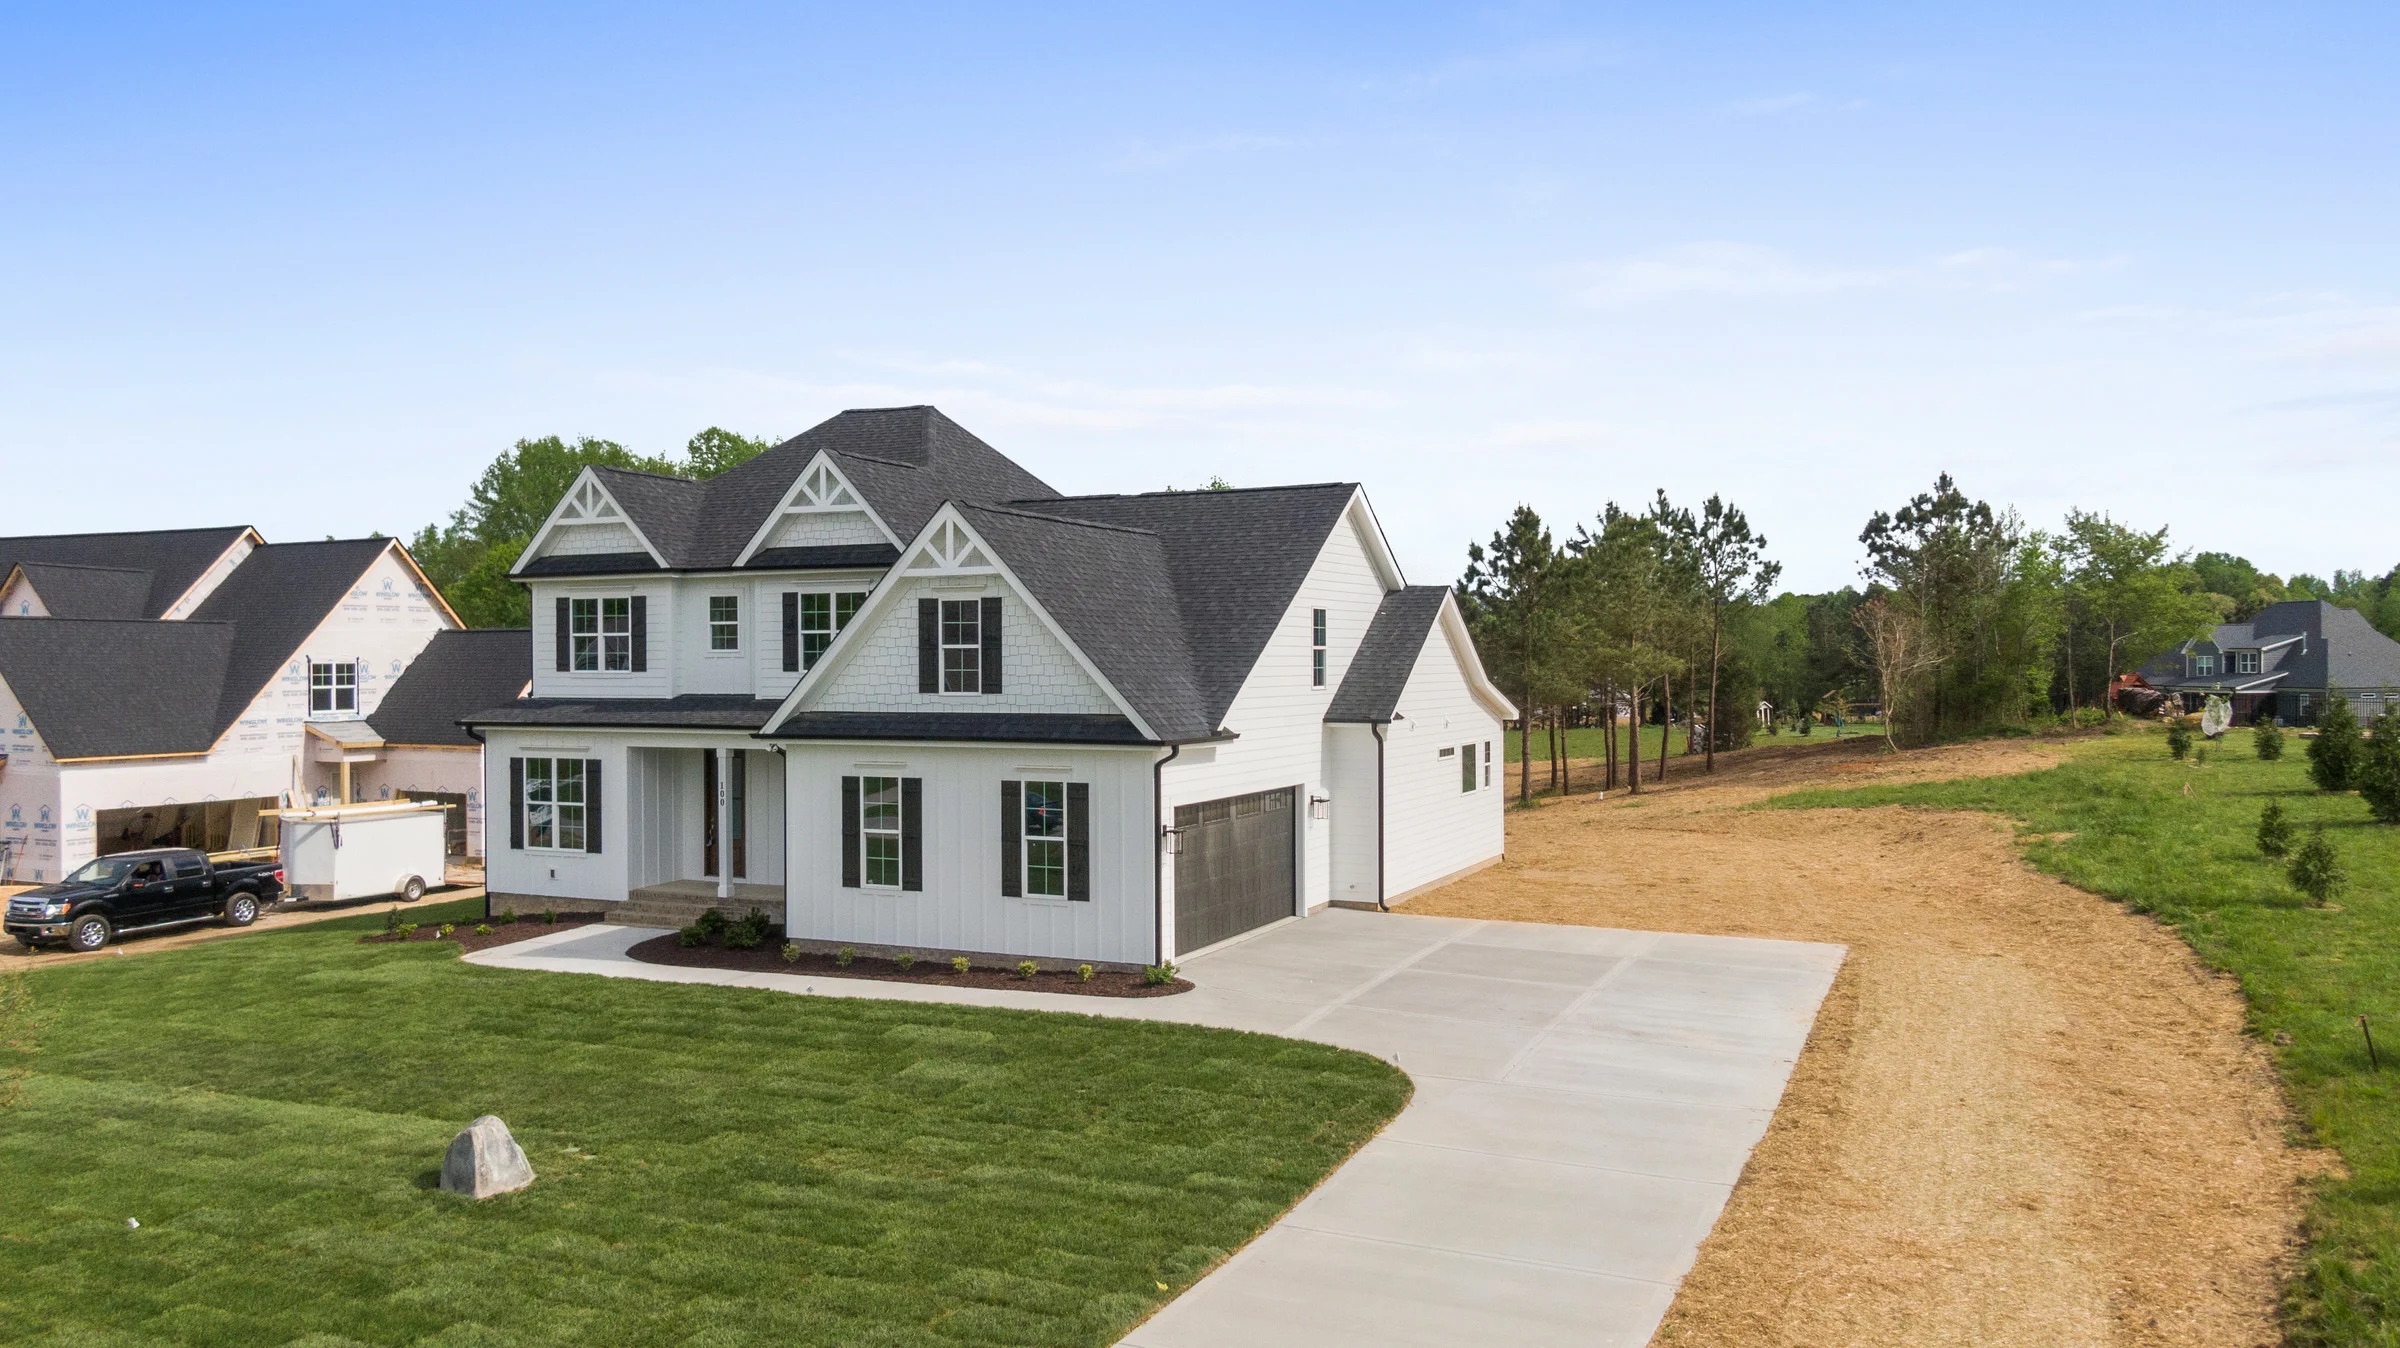
With a lot of experience in the remodeling and construction industry, our company can complete your entire project as easily as possible.